
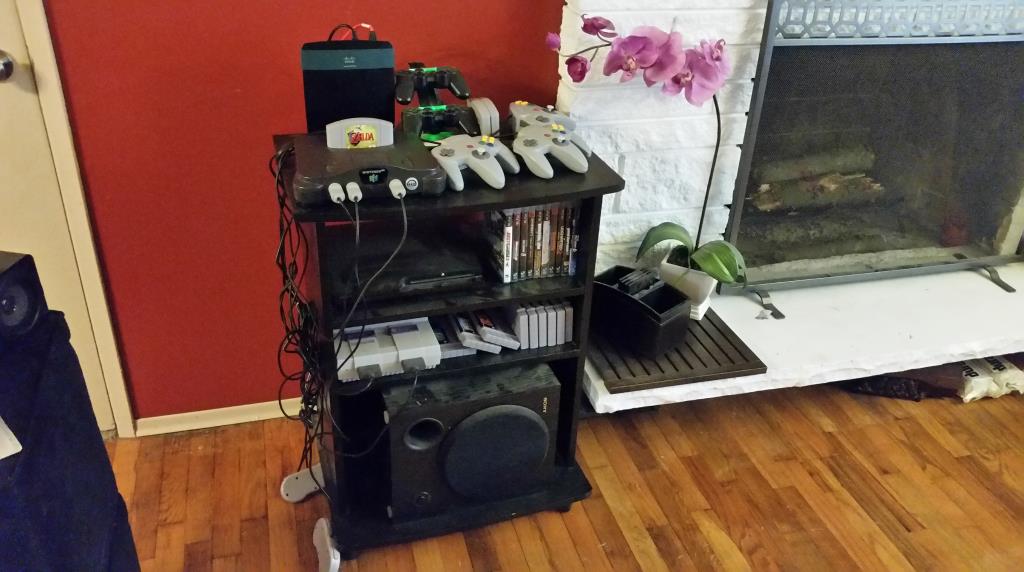
Custom 4 Console Game Station
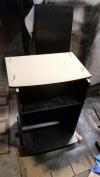
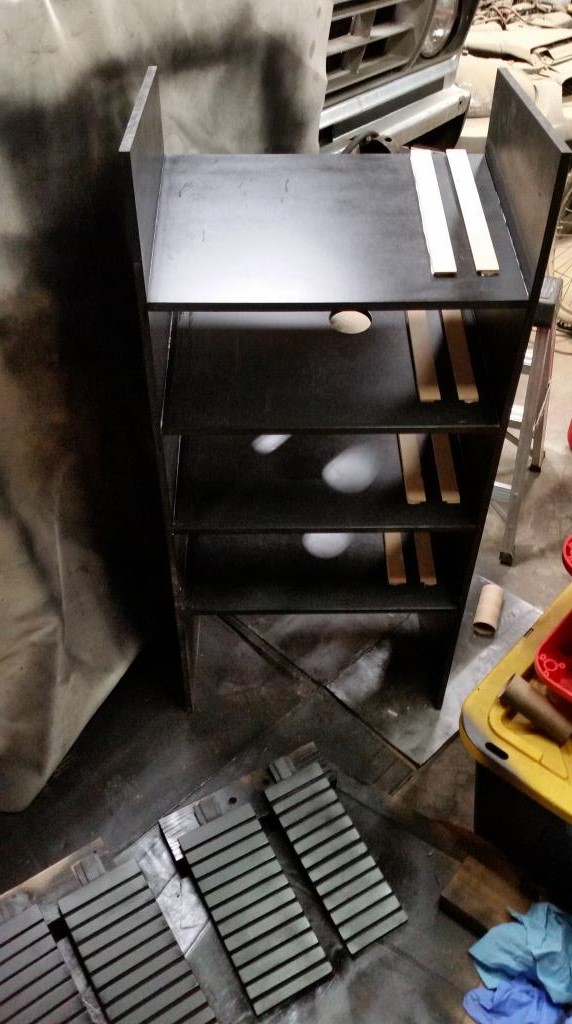
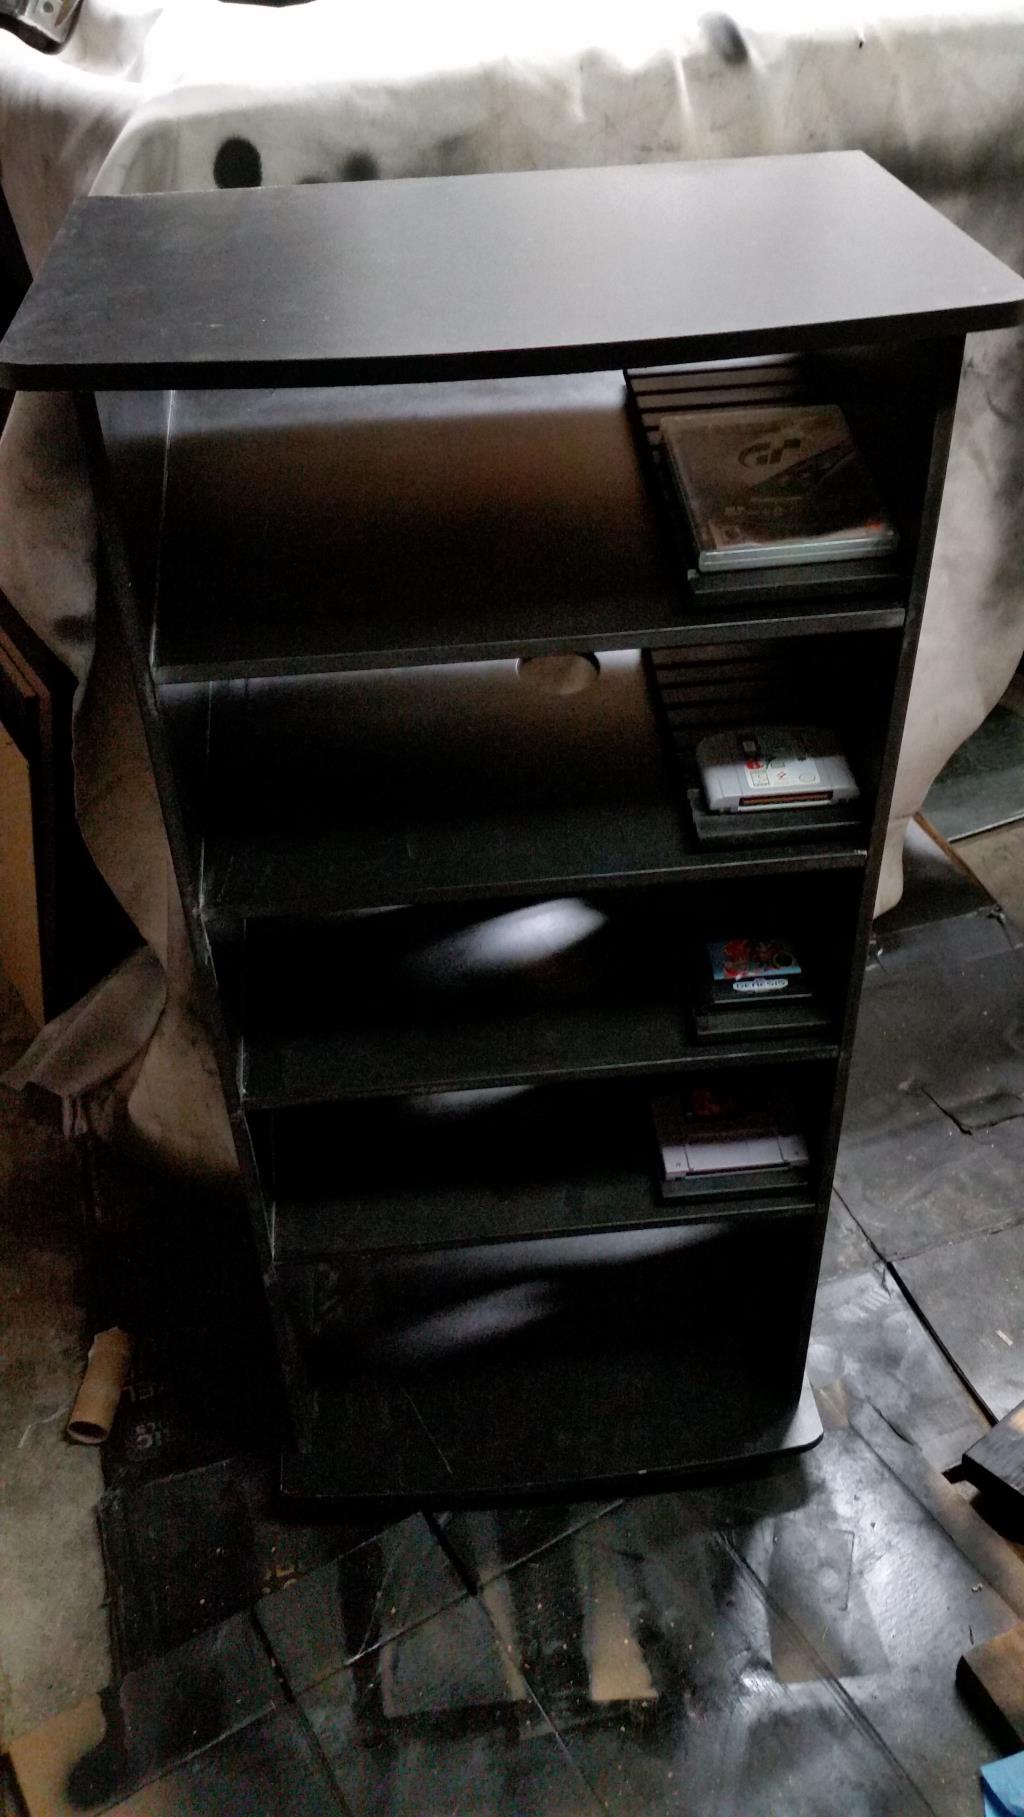
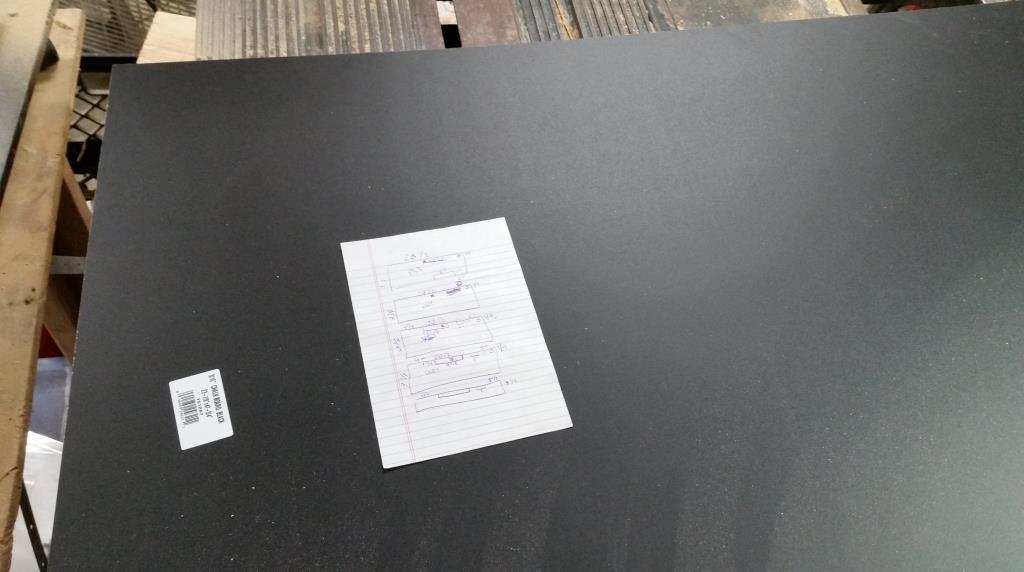
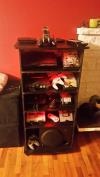
I have a small game console collection and enjoy picking up some of the classics every so often. I had a small rolling cabinet that had a simple and clean design but was very low on space. I liked the look of it but needed more space so after some drawings and a working up a basic 3d model I got to work on expanding the middle so it was taller and had a shelf for each console. Below is a quick walk through of the steps I went through to create the new middle of the cabinet resulting in my 4 console game station. Always remember that safety is extremely important when working with power tools. Safety goggles and gloves at a minimum but a full face shield is worth every cent!
As with all projects planning ahead will save time and money, also measuring twice or three times and cutting with care will also save you time, money and frustration.
Tools and Supplies
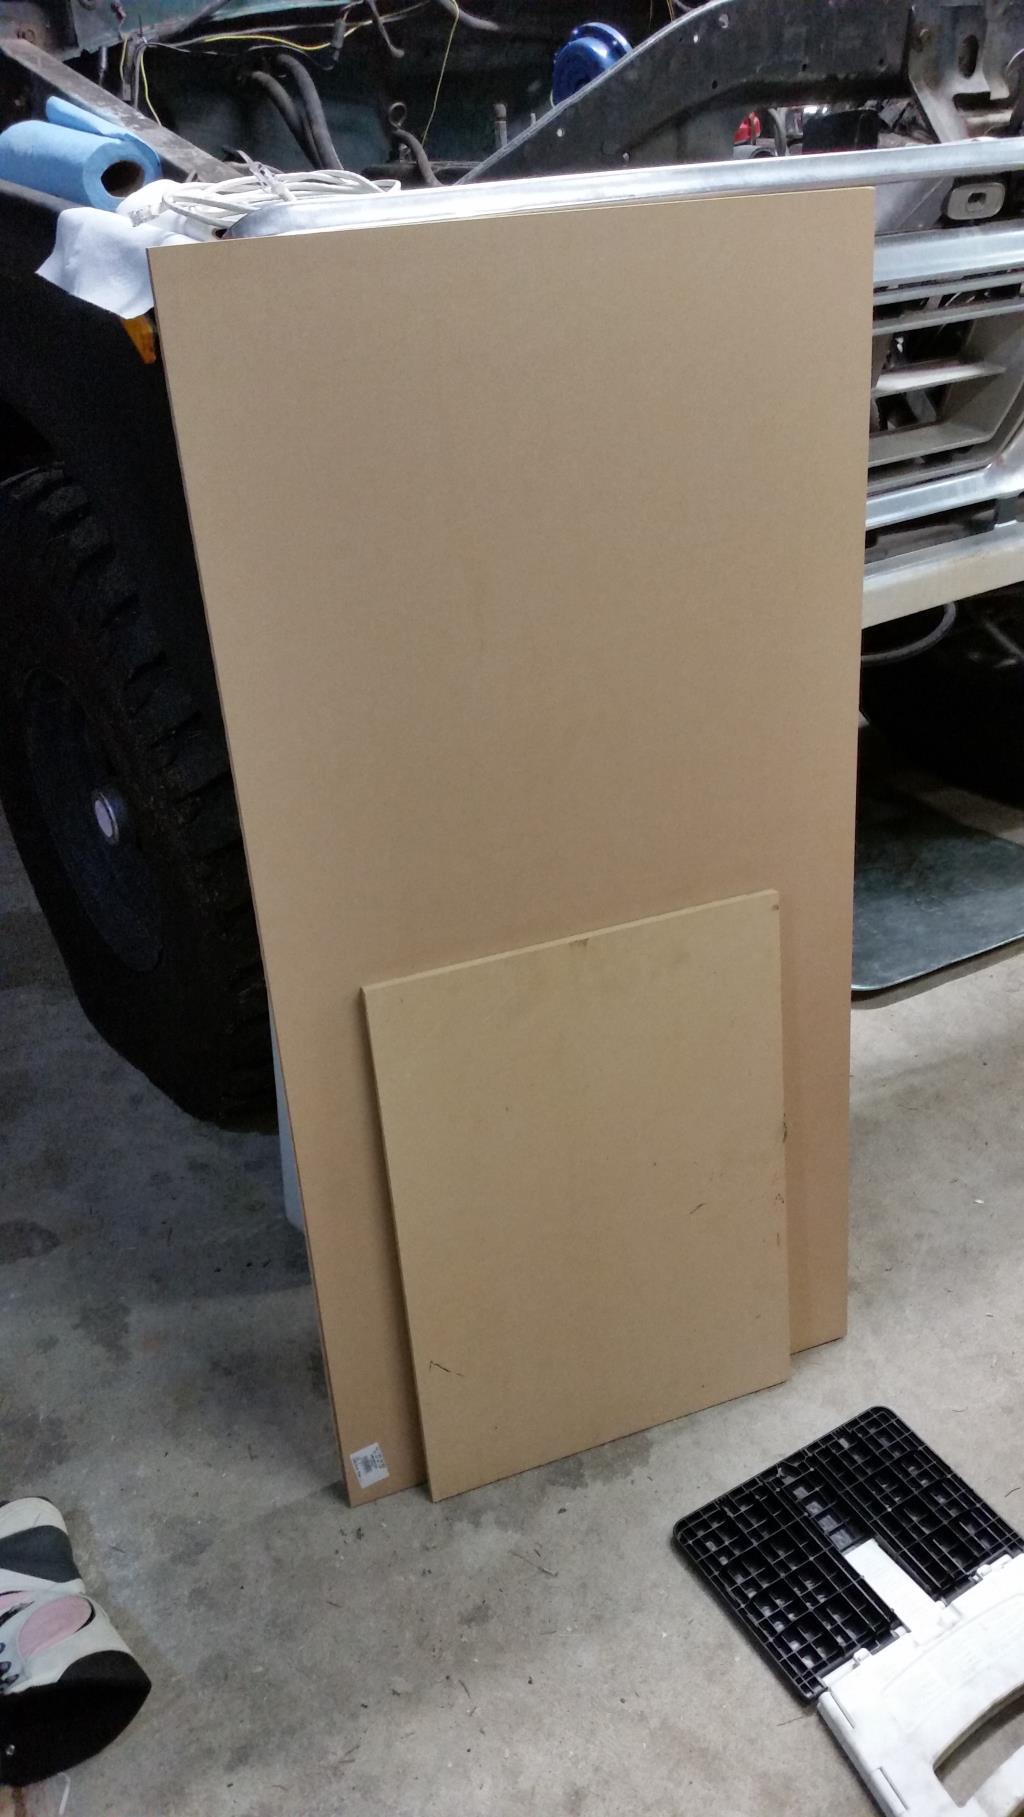
- 1x - Sheet of 3/4 MDF 2ft x 4ft
- 1x - Scrap Sheet of 3/4 MDF about 1.5ft x 2 ft
- Table Saw
- Miter Saw
- Drill/Driver & Bits
- Hole Saws
- Power Sander and Sand Paper (120 & 240 grit)
- Drill Press (saves time and is more accurate)
Steps
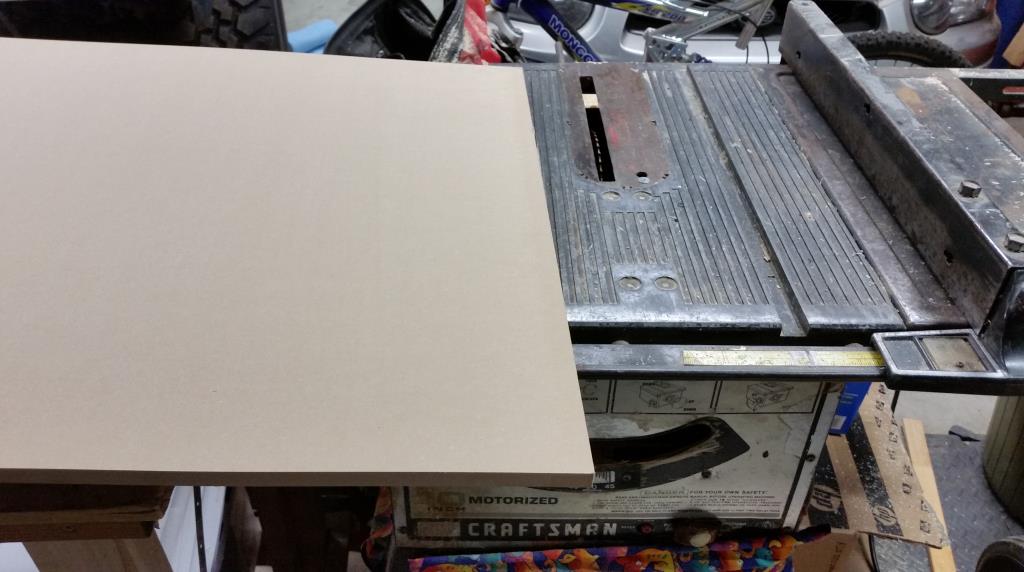
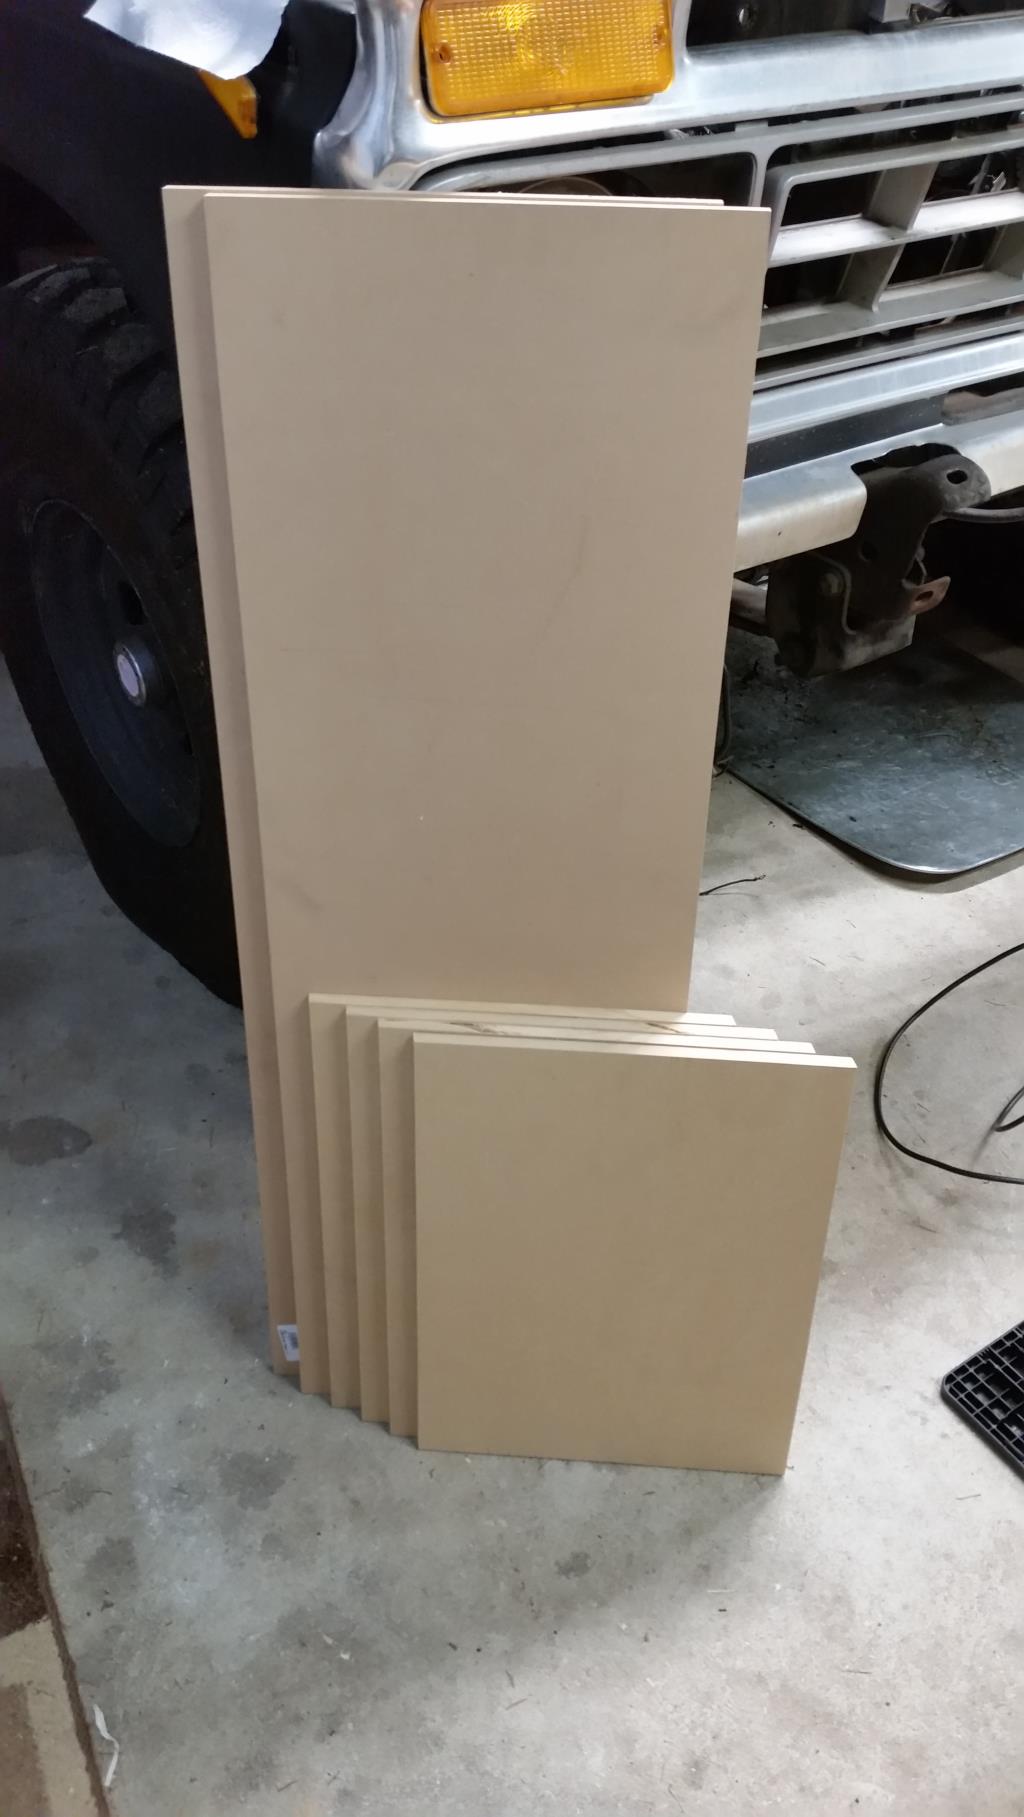
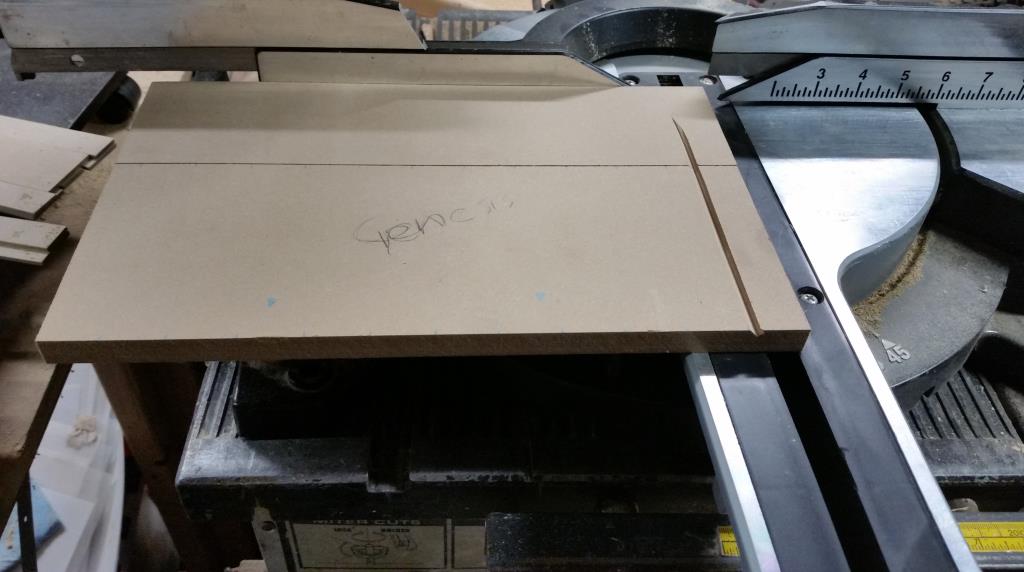
Cut boards per design, ensure shelf edges are cut at correct angles. Take the time to measure properly and configure tool correctly.


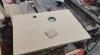
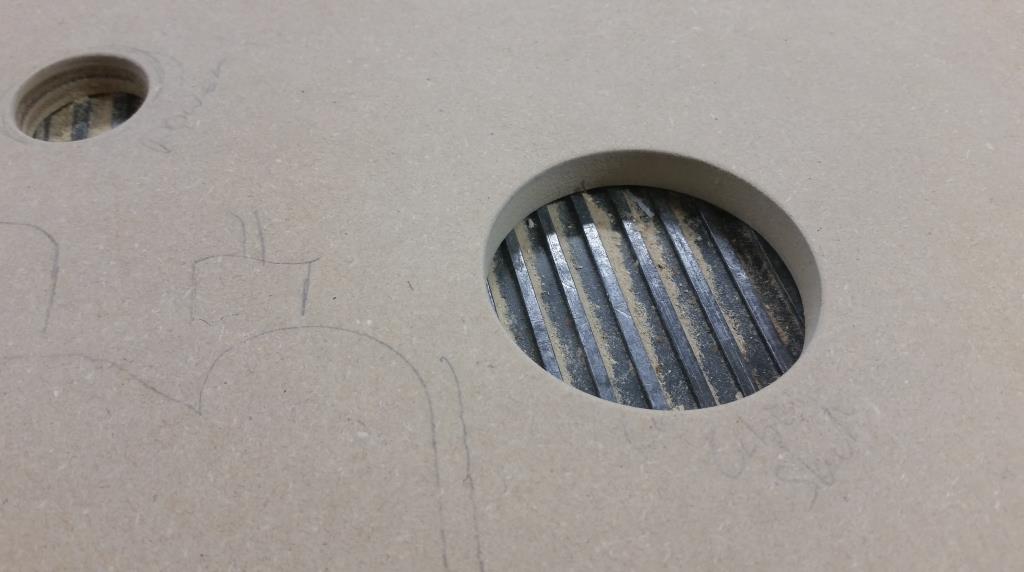
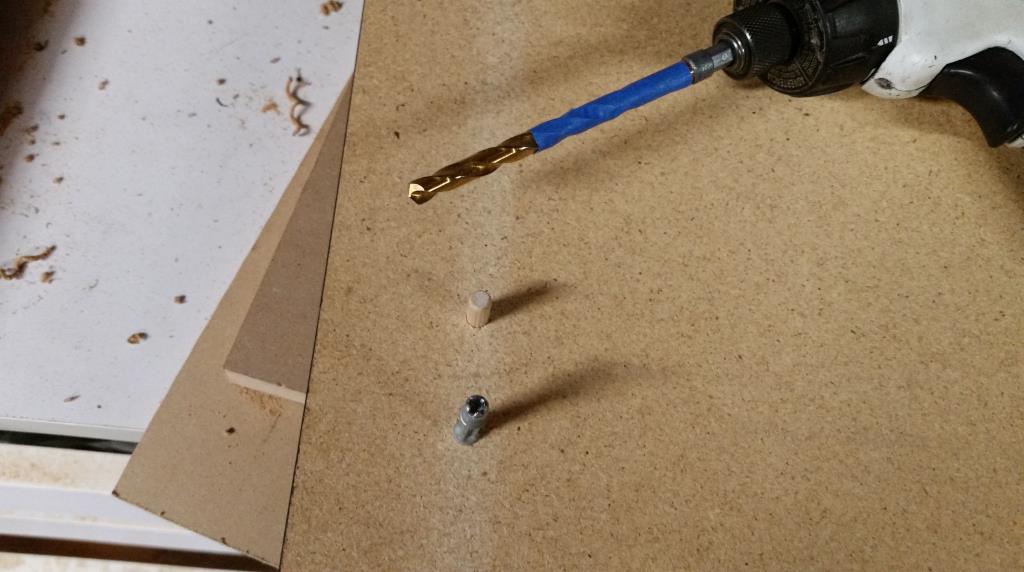
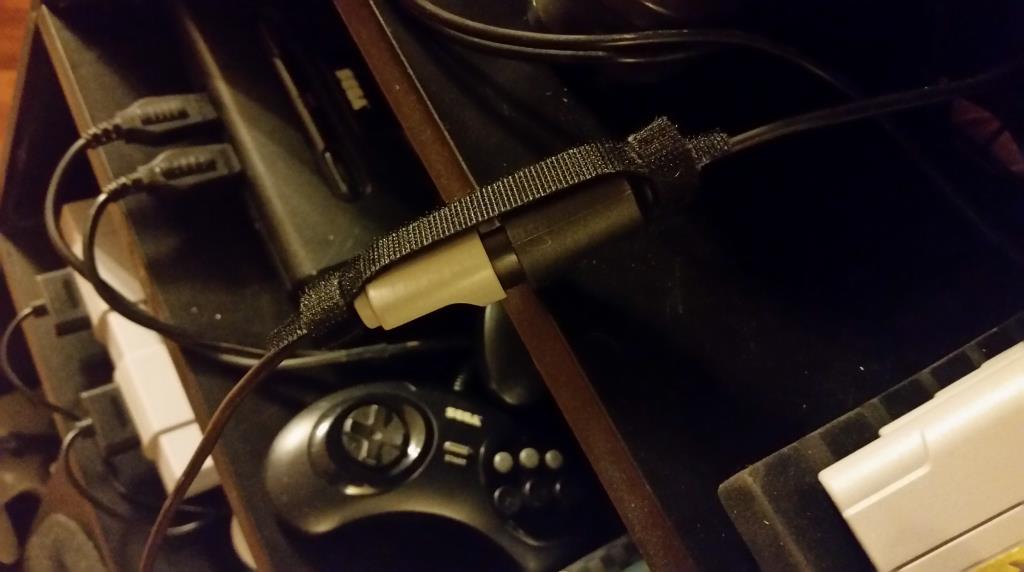
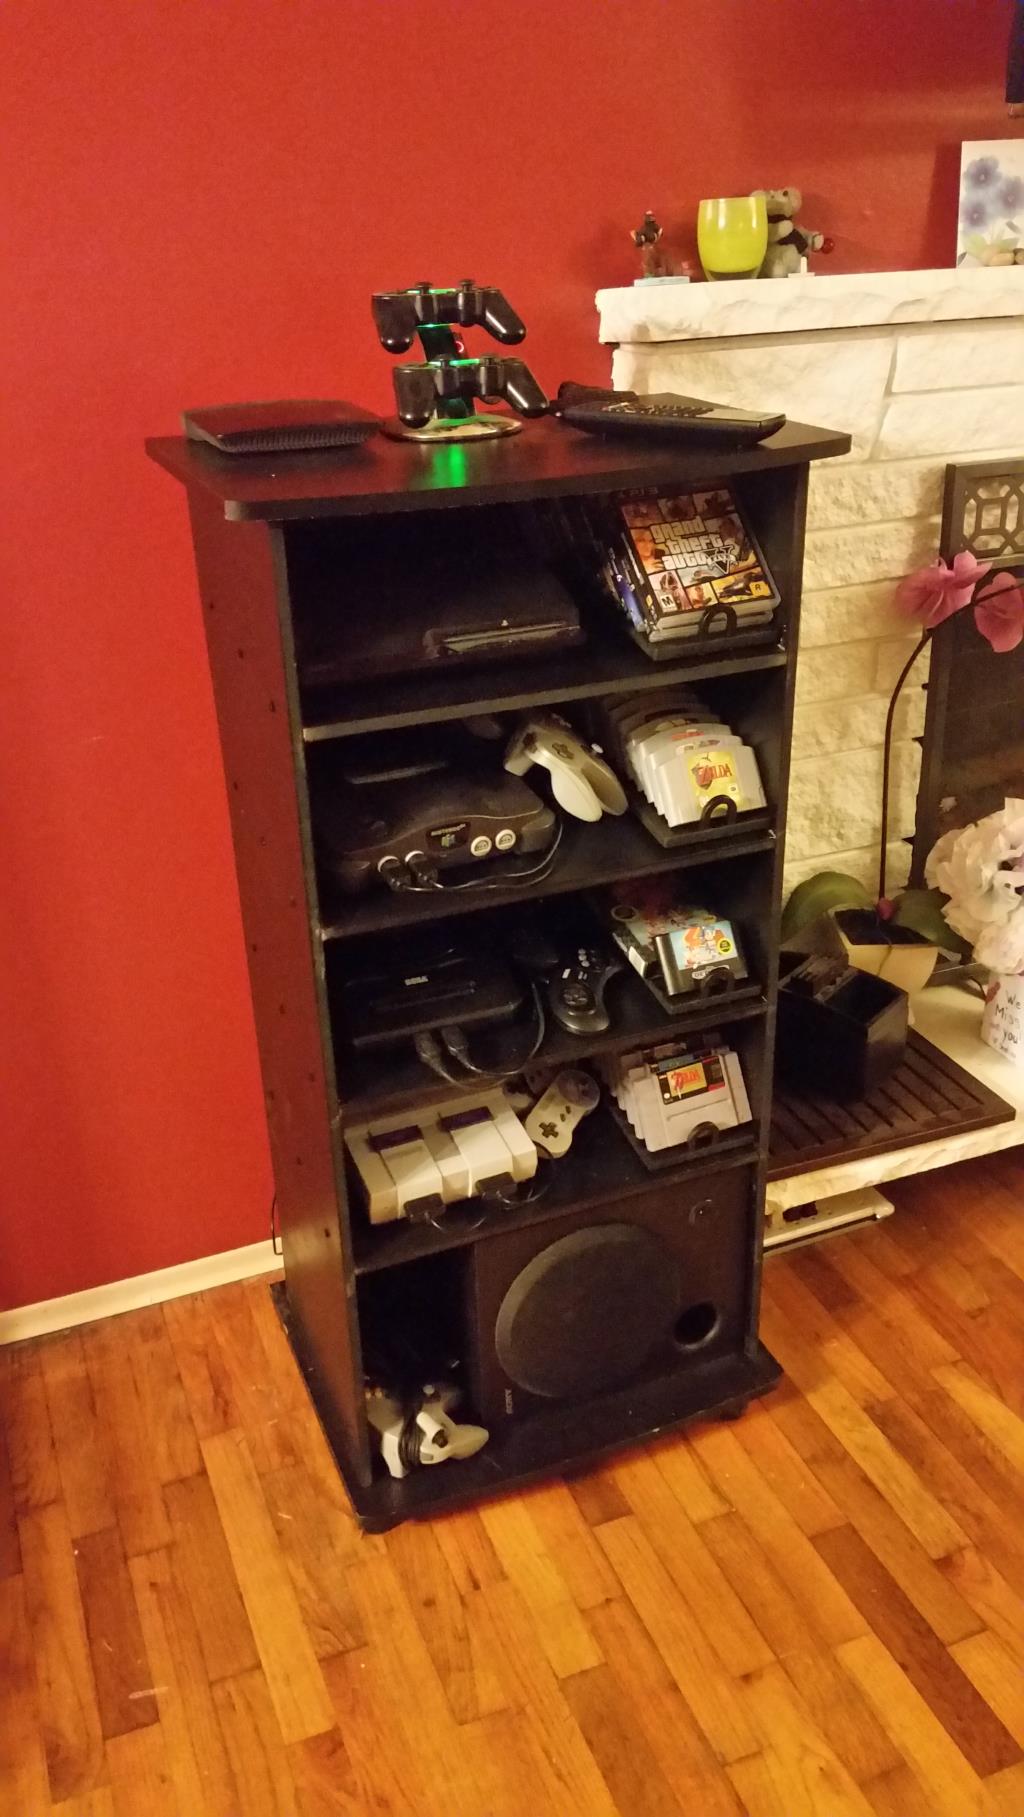
I skipped taking some pictures but I staged each console no a shelf and made an outline and some markings to show where the cables connect to it. using that I decided where to make the hole for its power and AV cables as well as the hole to pocket away controller cables.


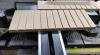
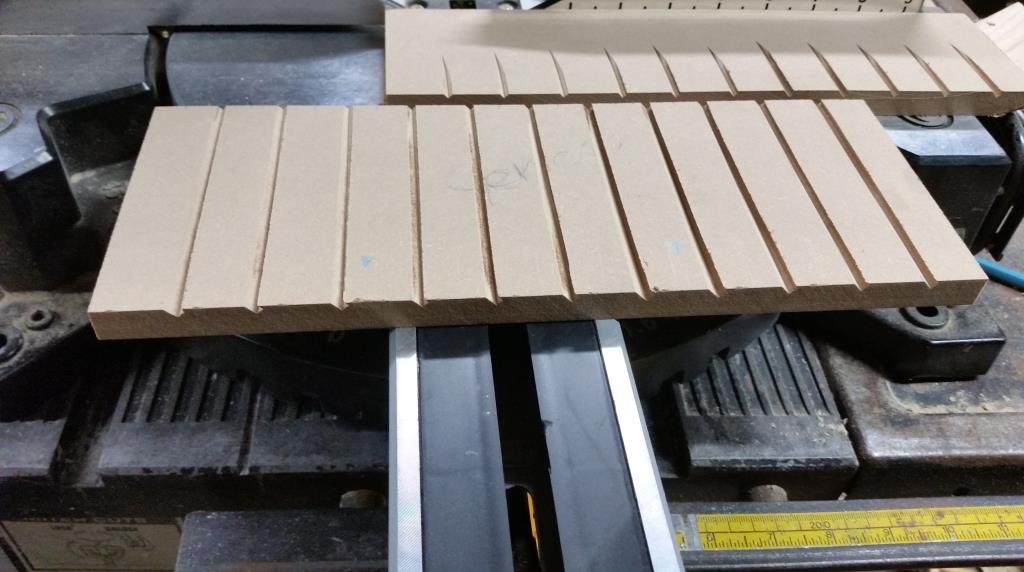
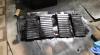
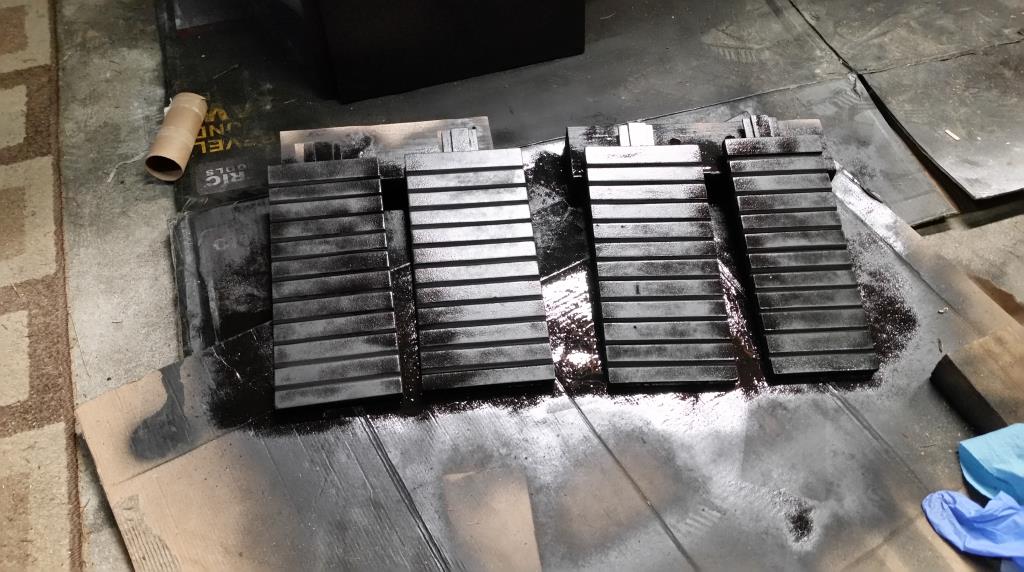
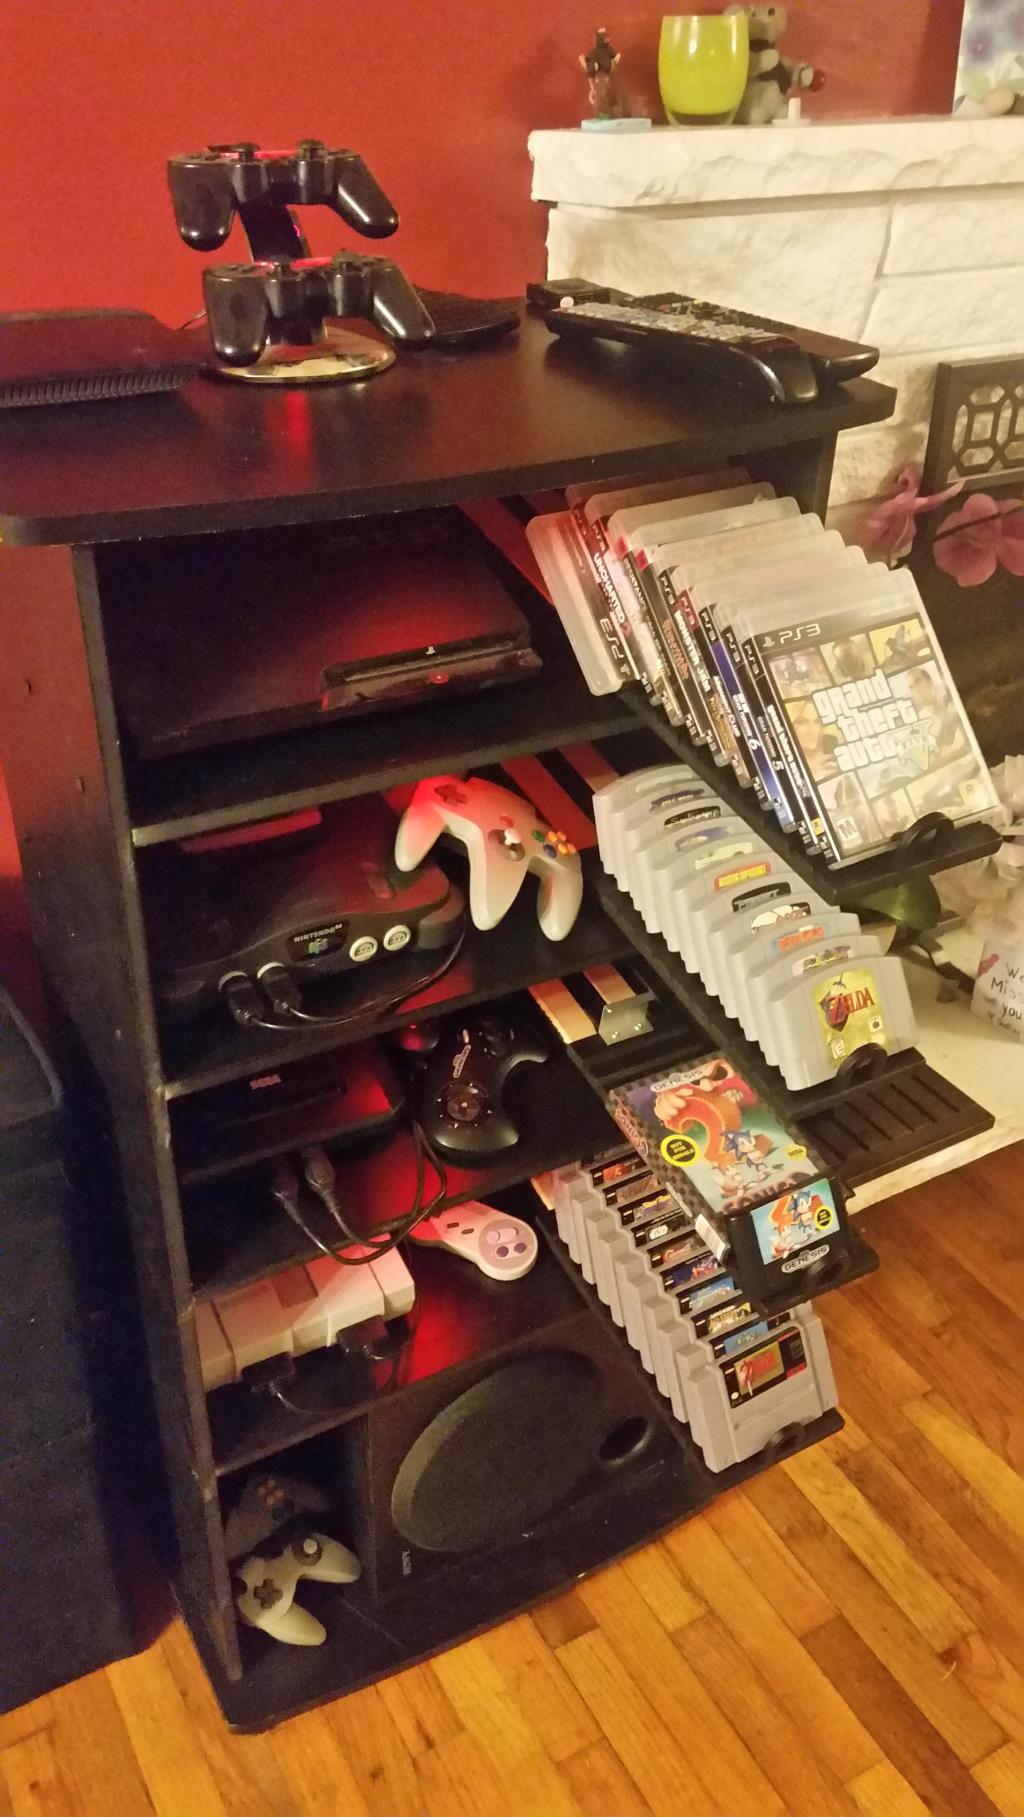
I made cartridge slide outs so I could organize and access them with ease. I took scraps and cut them to fit the consoles cartridge size 11 deep (I used only my crappiest game for sizing as their was quite a big of dust floating around the garage.) I then took the miter saw and cut notches for each cartridge to rest at an angle in so they are easy to view and stay in place.


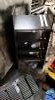
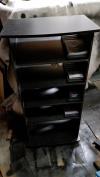
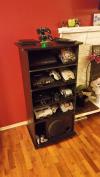
Tore down the old cabinet without damaging it or the hardware holding it together, slow and easy.
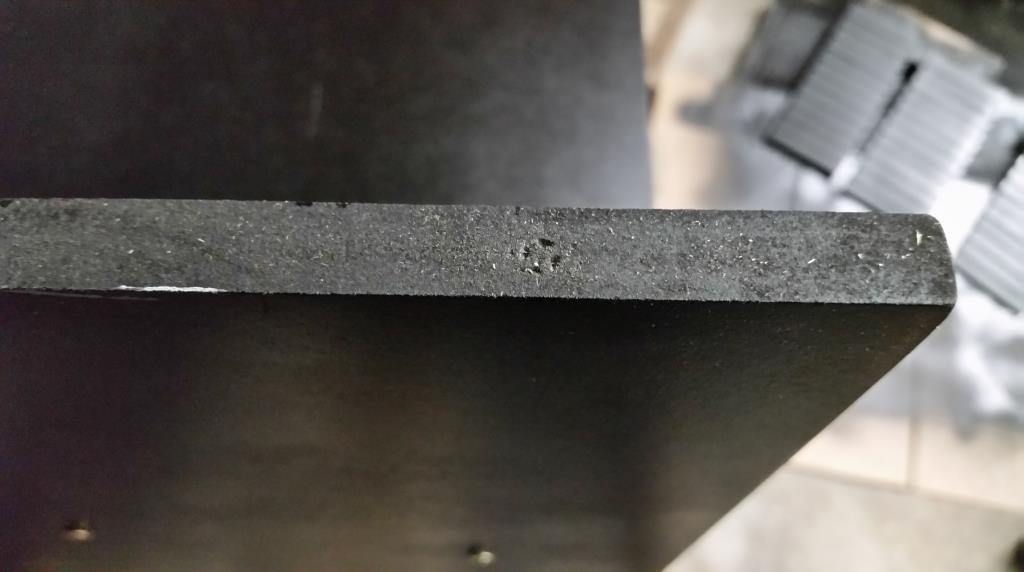
Paint, I found at the local big box hardware store some generic flat dresser paint& primer in one, I usually hate getting an all in one because there is no such thing, separate primare gives a much better result in my opinion but it was on sale and figured I'd try it, can always sand and re-paint later. Another Side note I did this in the winter and it was quite cold in my garage which did not help the painting process either. The cabinet was already a generic flat black so it was pretty easy to match. MDF soaks up paint like crazy so it takes a ton to coats to get it solid. Sanding which again I did not take a ton of pictures of is a huge step to making the end product look half way decent. This includes the already glossy MDF press sides but mostly the ends. A new table saw blade would help but mine has a lot of miles on it so I paid for that in sanding time.
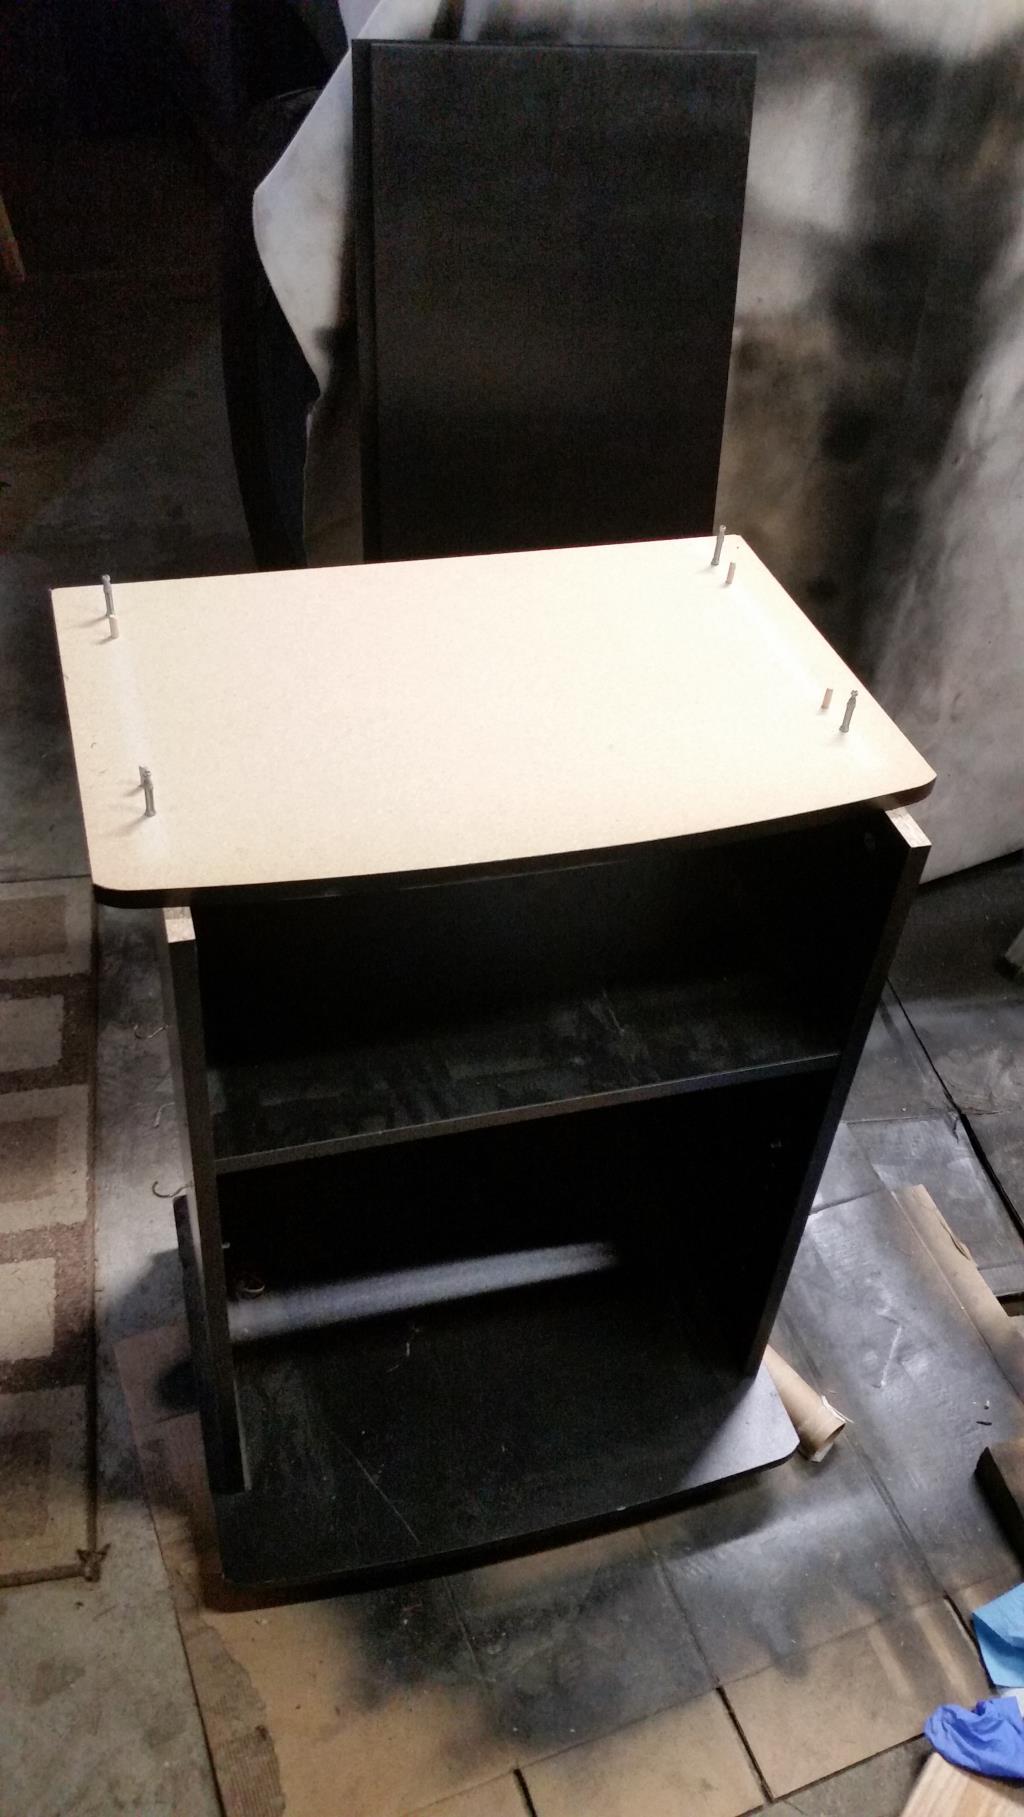
Putting it all together; I like to use the real parts to mark up hole's and placement over just measuring and marking. For attaching the sides to the shelf, I measured where the front and back would be and marked on the side then held up the part in its correct pace and did a quick trace with smug off pencil. Then drilled the screw holes in the side (always start drilling from the finish or show side, MDF will split and tear on the exit side even if you are careful so its good to have that the side you can hide.) Again holding up the shelf its its correct pace to make a mark through the drill hole onto the part and drilling the hole into the part. MDF is packed very dense drilling a screw into the side of it will cause it to separate and split as it can't compress enough around the screw, drilling in holes large enough to fit the core of the screw (not the thread) is a must. I also used wood glue between each part.


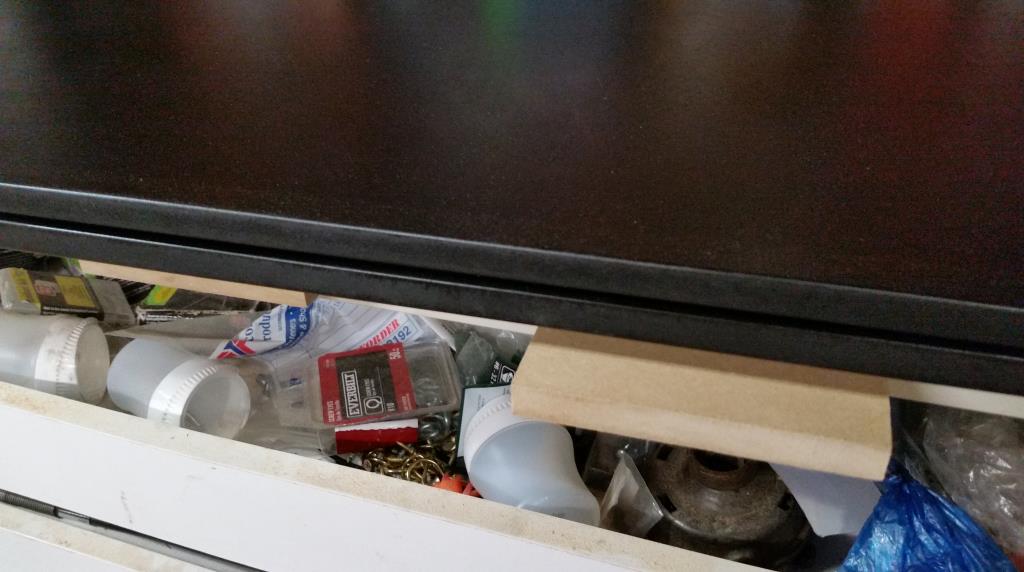
For the slides, I looked into multiple cabinet and drawer tracks but aside from the price none were very slim and they were all designed to be low friction. my shelfs sit at downward angle and I need the cartridge slides to not slide without pulling them down or up (so they don't just fall out or shake around.) I ended up just making a very simple track with some 1/4 inch MDF scraps I had around, its pretty much two "L" shape paces glued onto the shelf (very sanded) and a "T" shape glued to the bottom of each slide also very sanded, it actually worked out perfect as its very low profile and the MDF on MDF surfaces creates a great amount of friction, too much for it to move on its own, but not too much to allow it to slide out with some force.
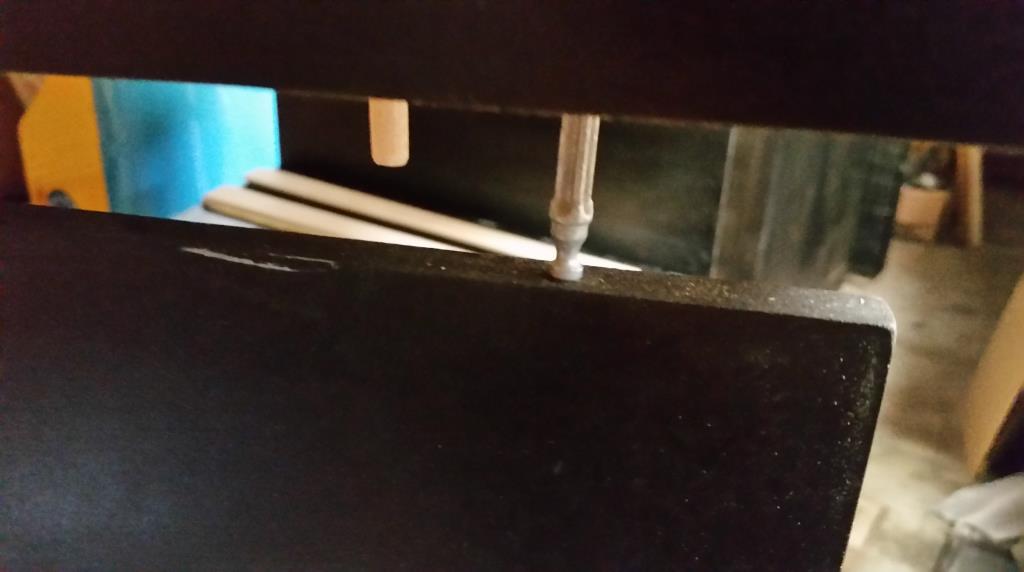
I used the hardware from the original cabinet to attach the top and bottom to my new middle section. It was only a metal post (that screwed into a 1/2 seat original) and a wooden dowel. I did not want to try and drill the proper holes for the metal post and screw so I just drilled a hole a tiny bit smaller then the post and hammered it in, same with the wooden dowel. I did not use any glue for the top or bottom. I bought little black snap on plastic caps to hide the screws, they snap onto the Phillips head of the screw.


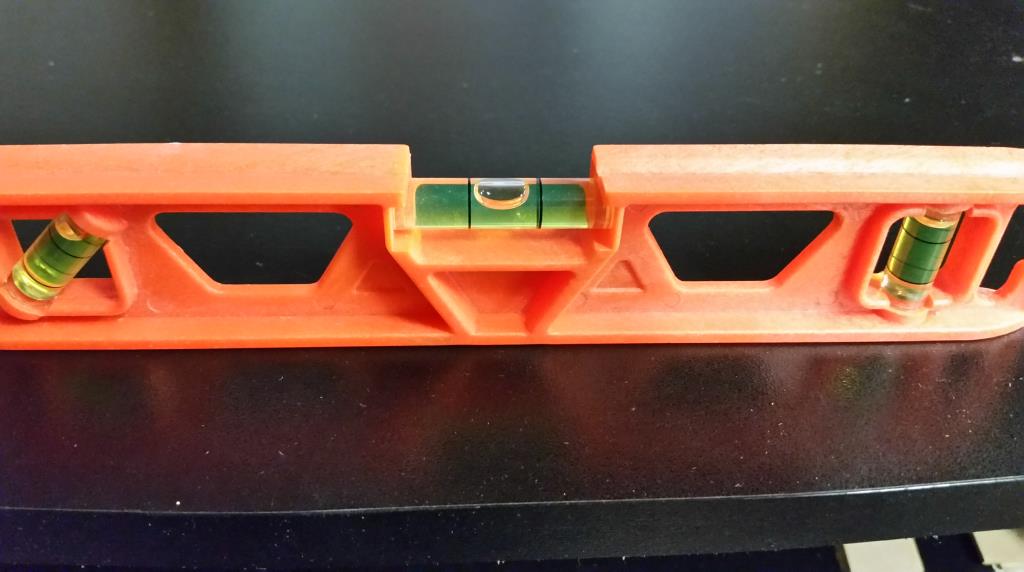
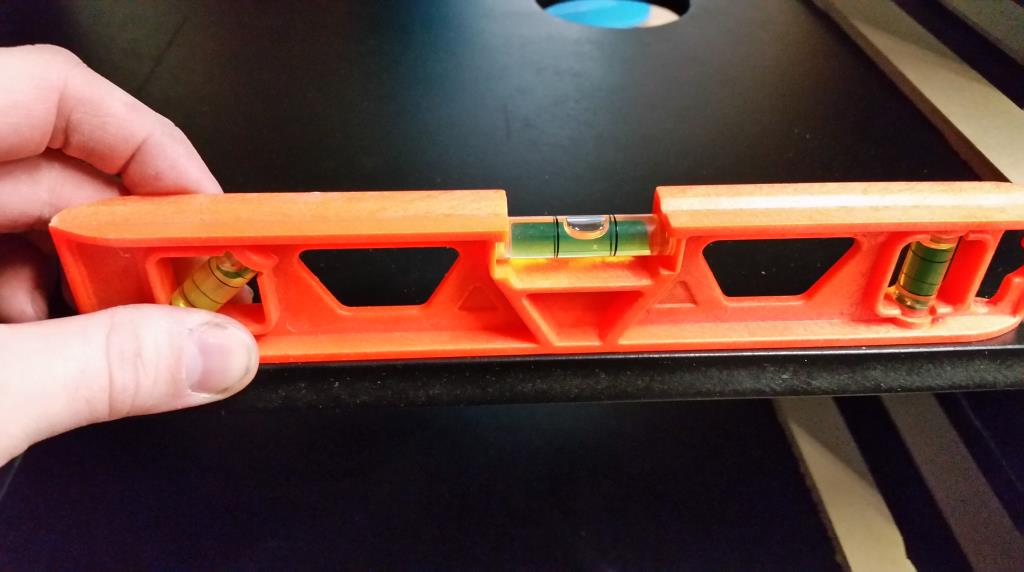
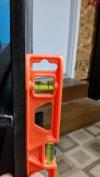
Checking its level and solid.


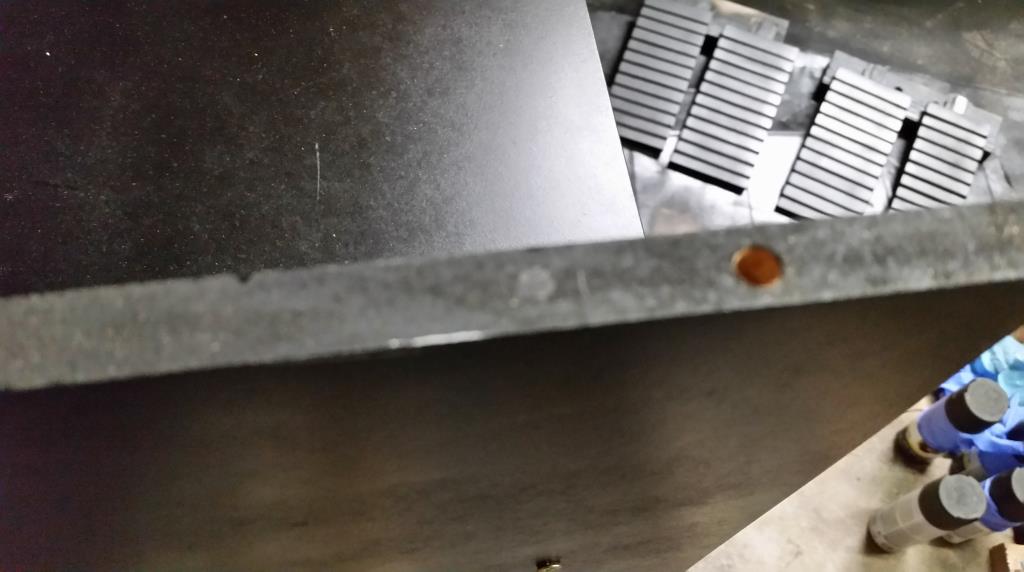
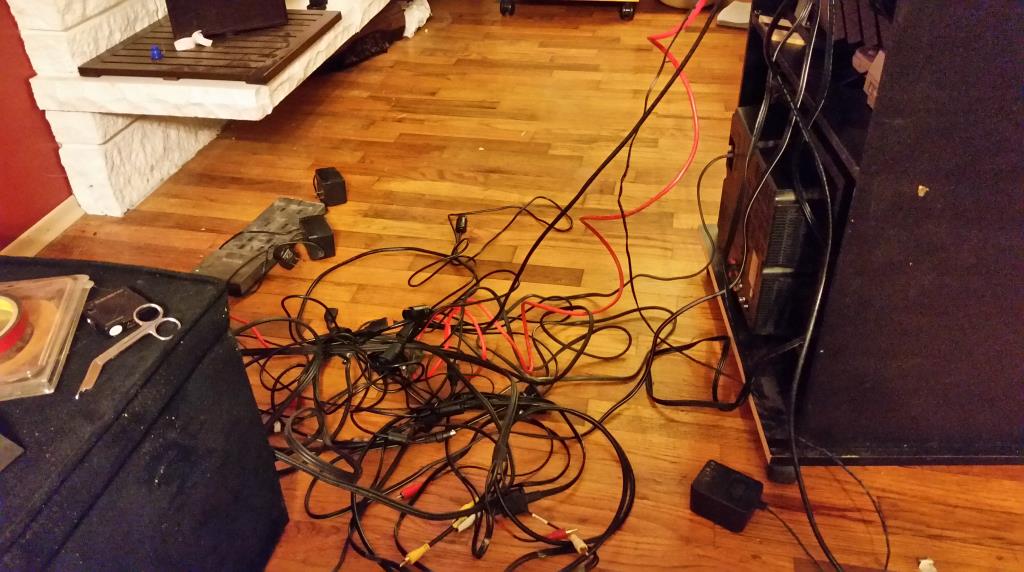
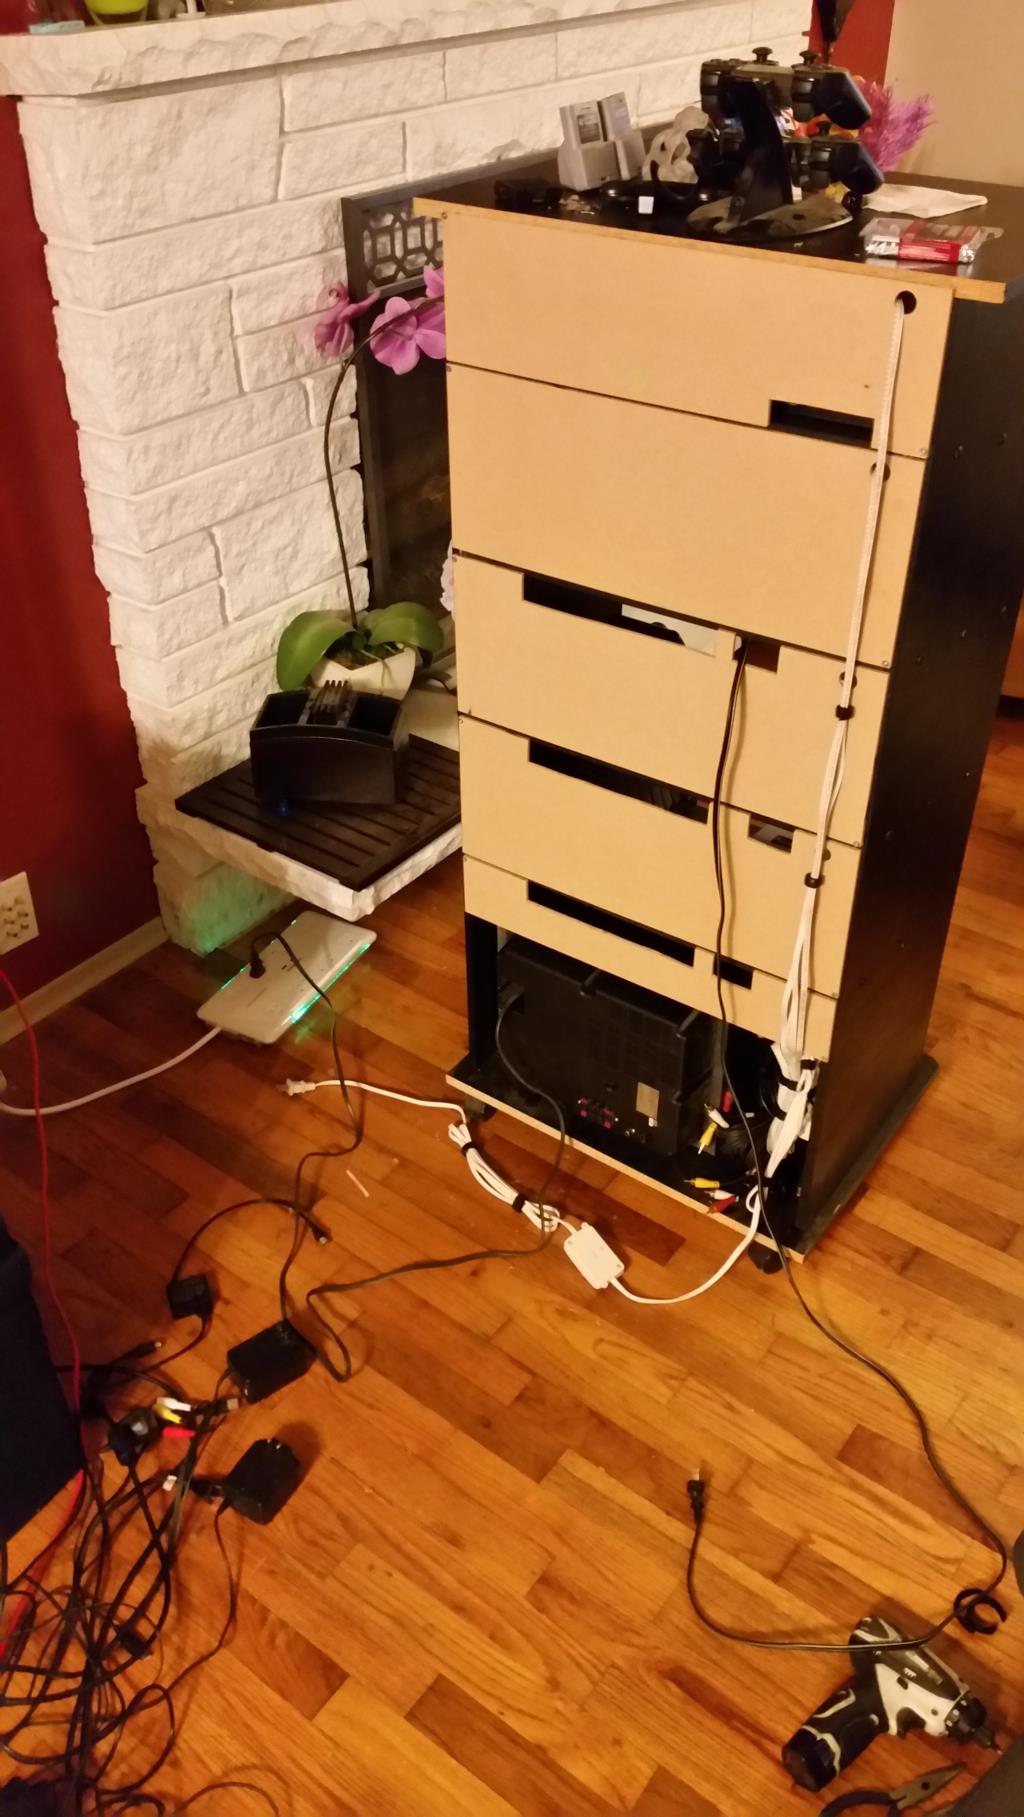
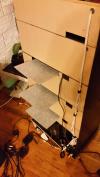
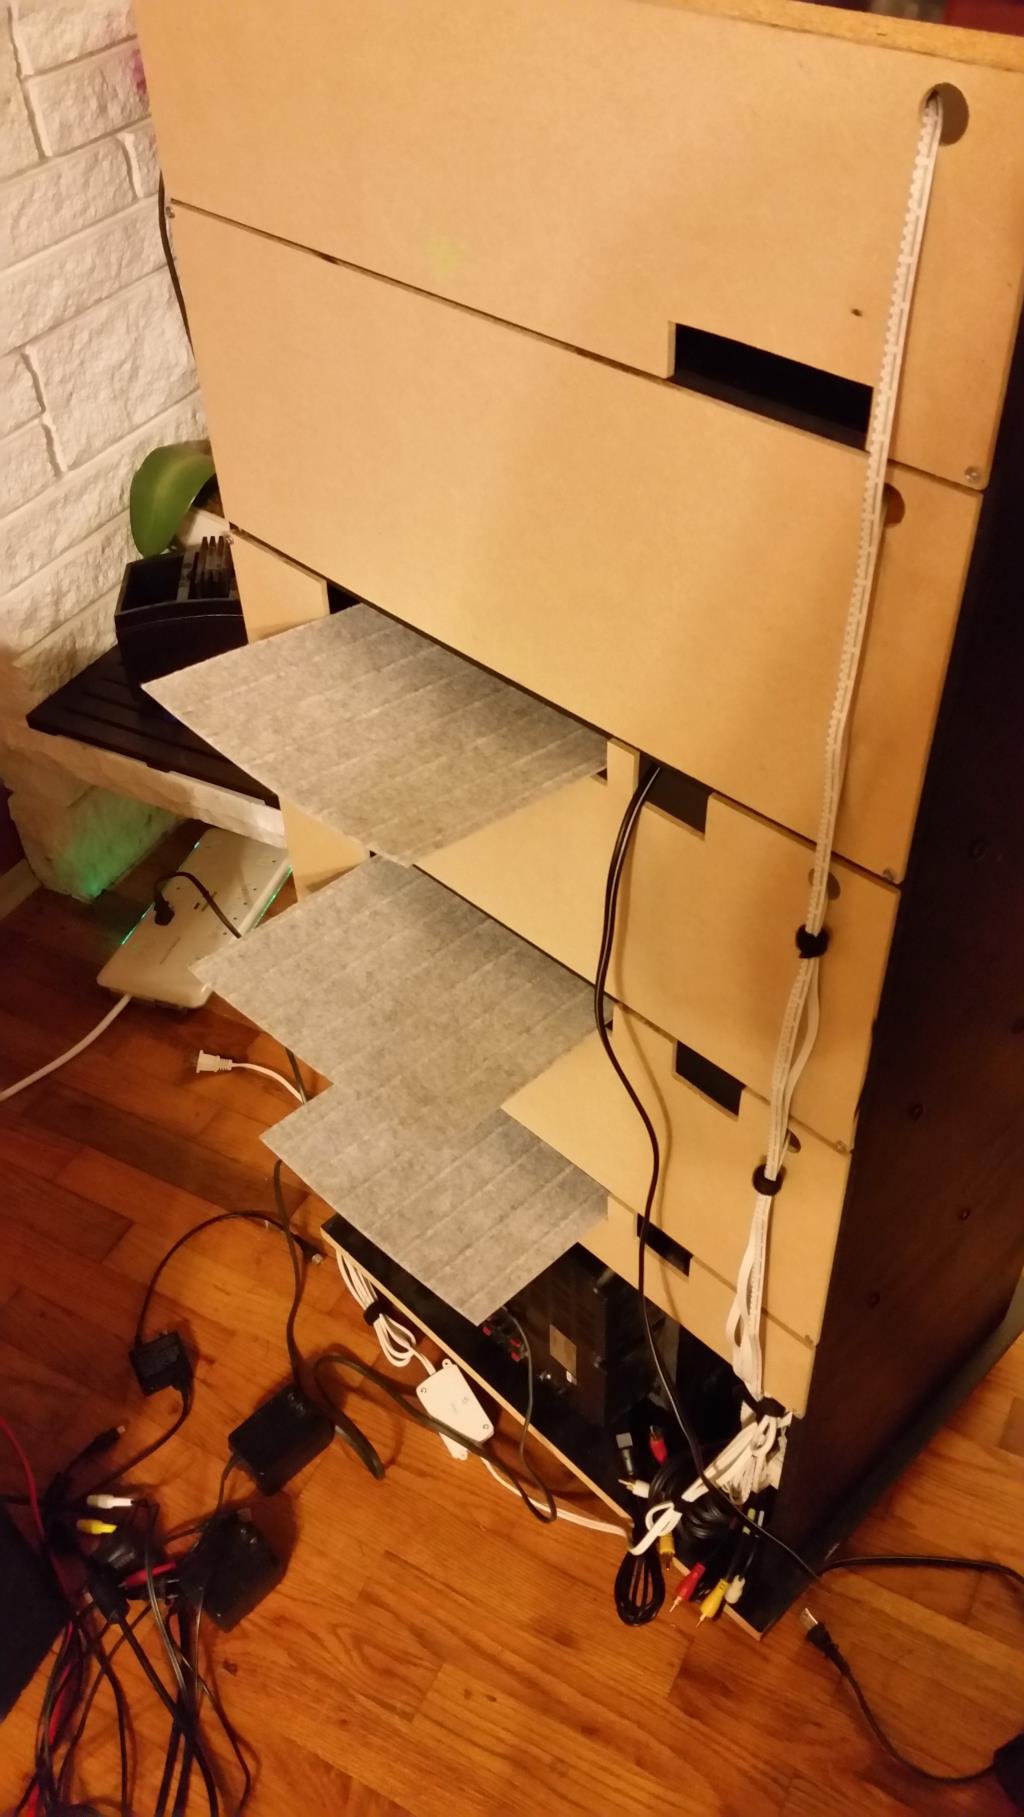
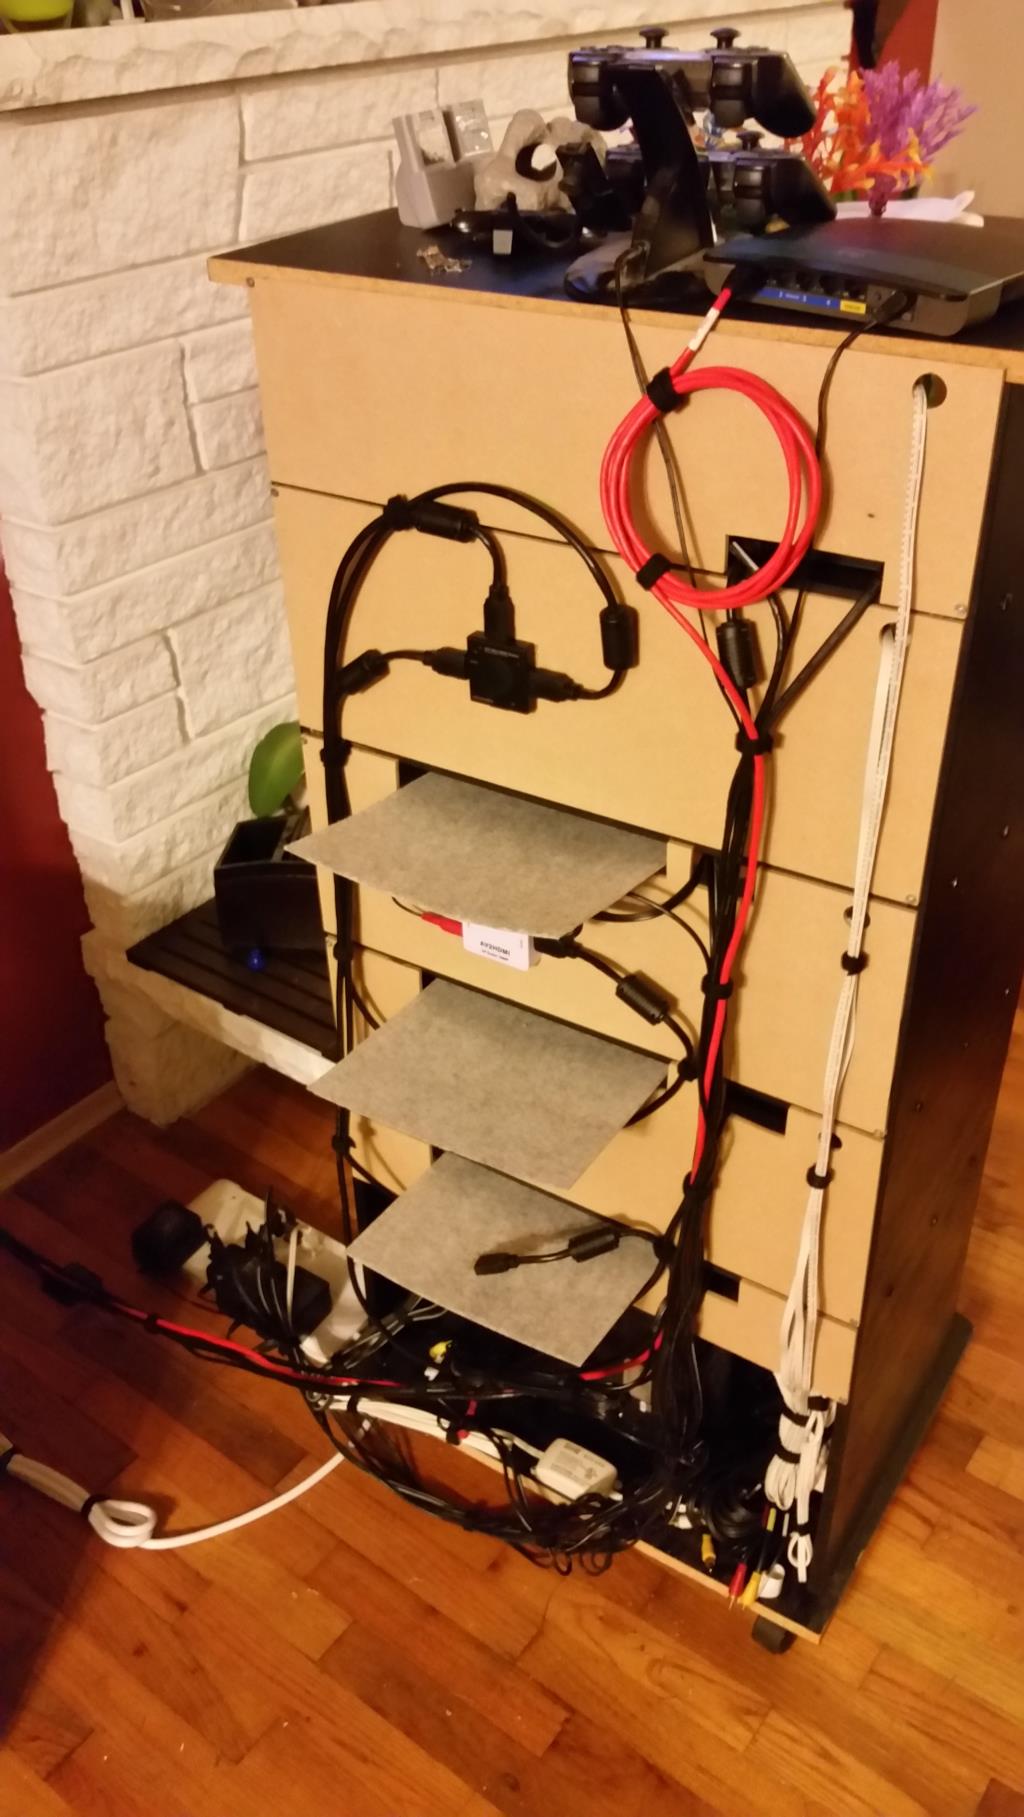
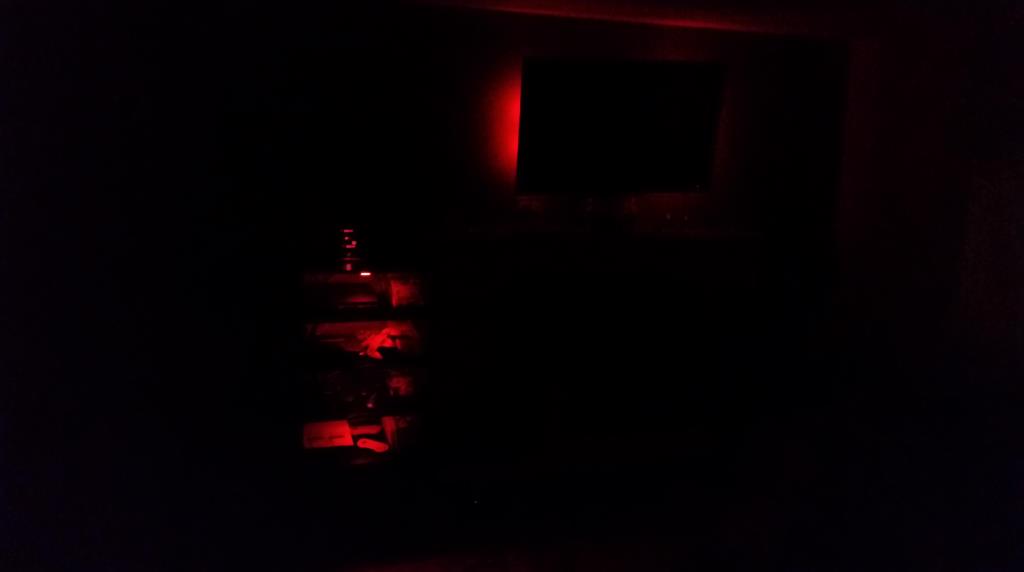
A big part of this was cable management, the old consoles leave a ton of cables. getting it all wired up to me TV was a project in itself. I have 2 HDMI runs, a single RCA run and a single coax run in the wall behind the cabinet up to the TV. Two of the consoles were RCA, 1 was Coax and 1 HDMI. I found online a relatively cheap RCA to HDMI upscaller that actually works really well, it was $14 shipped on email (no name brand) but it did a great job with scaling the old system to a modern HD flat screen. I did find that id scaled to 720 better then it did to 1080. For the back, I bought some cheap "chalk board coated" MDF as I ran out of patients to paint but it worked great, and did not have to match very close as it was just a backing. Cut it to size so it would fit behind each shelf with openings for cables to run through. I also picked up some hard felt drawer liner kinda stuff and used it as the pocket for the controller cables as they need to slide in and out easy and without damage.


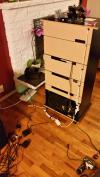


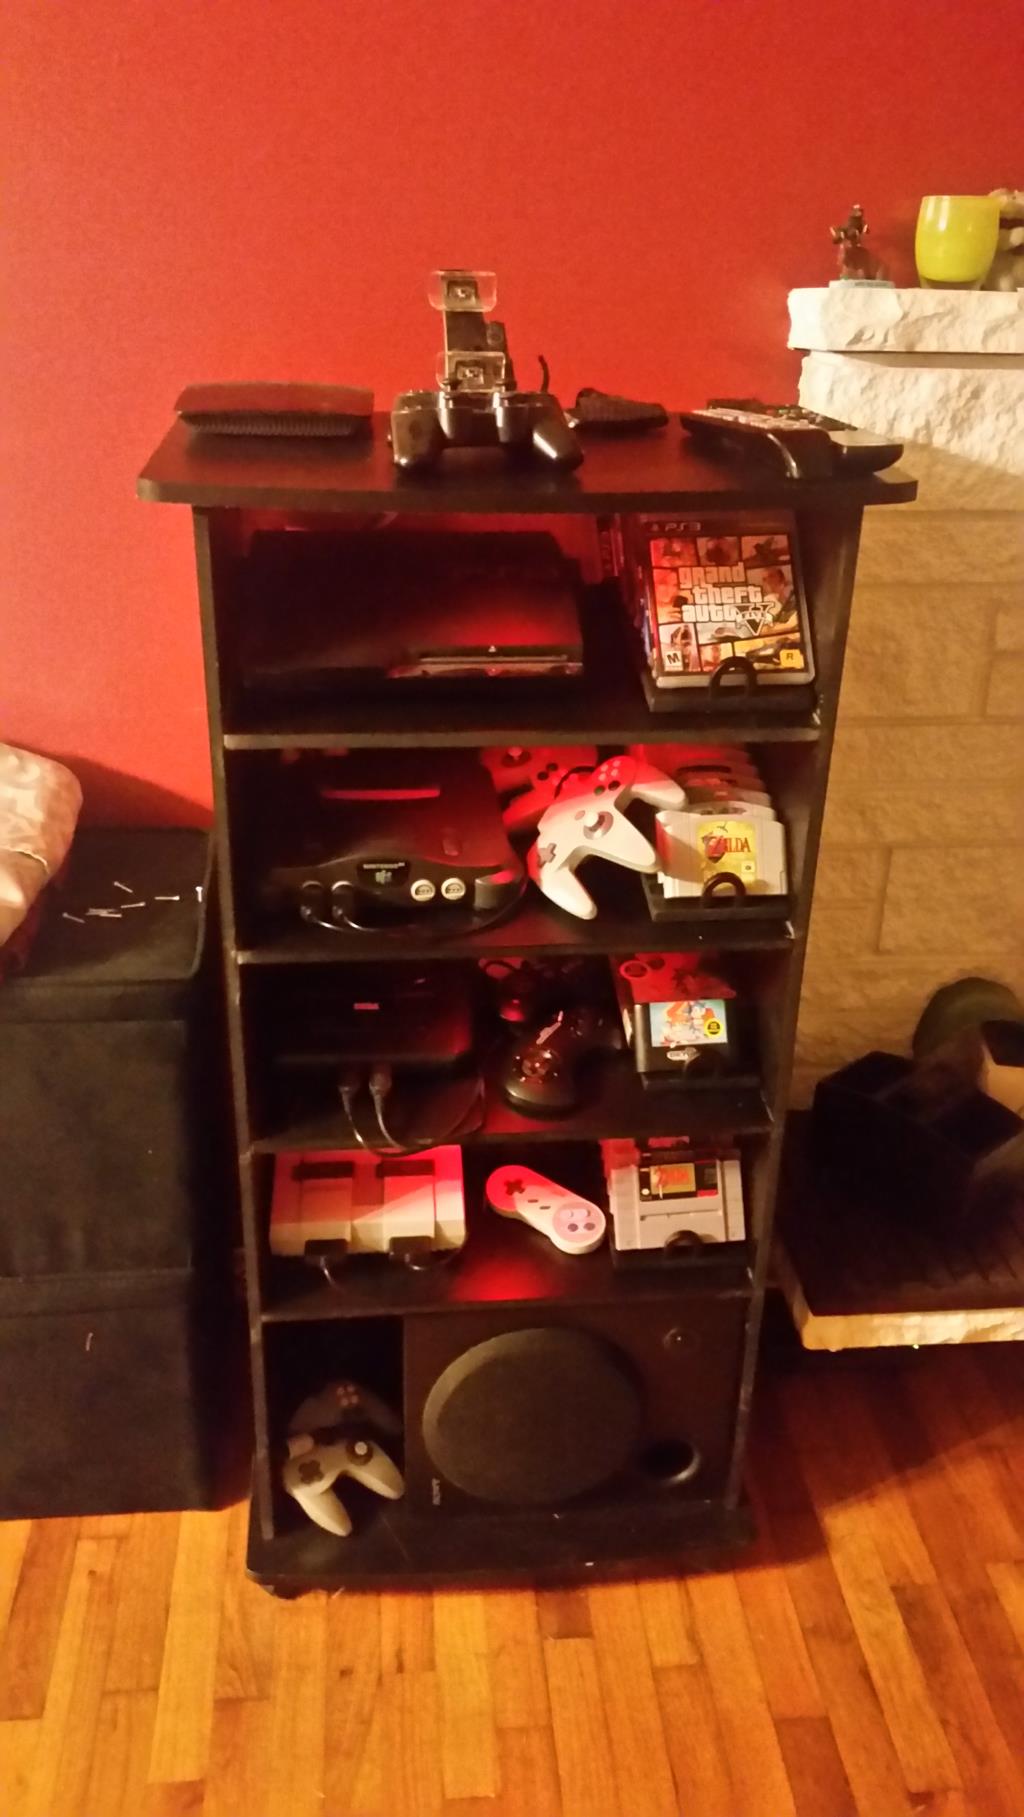
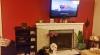
The end result I think turned out really well. I added some red lights behind the TV and in each console shelf as some mood lighting.


Downloads
 |
3D model of game station (3dm file) |

Social
|
|
|
|
|
|
|